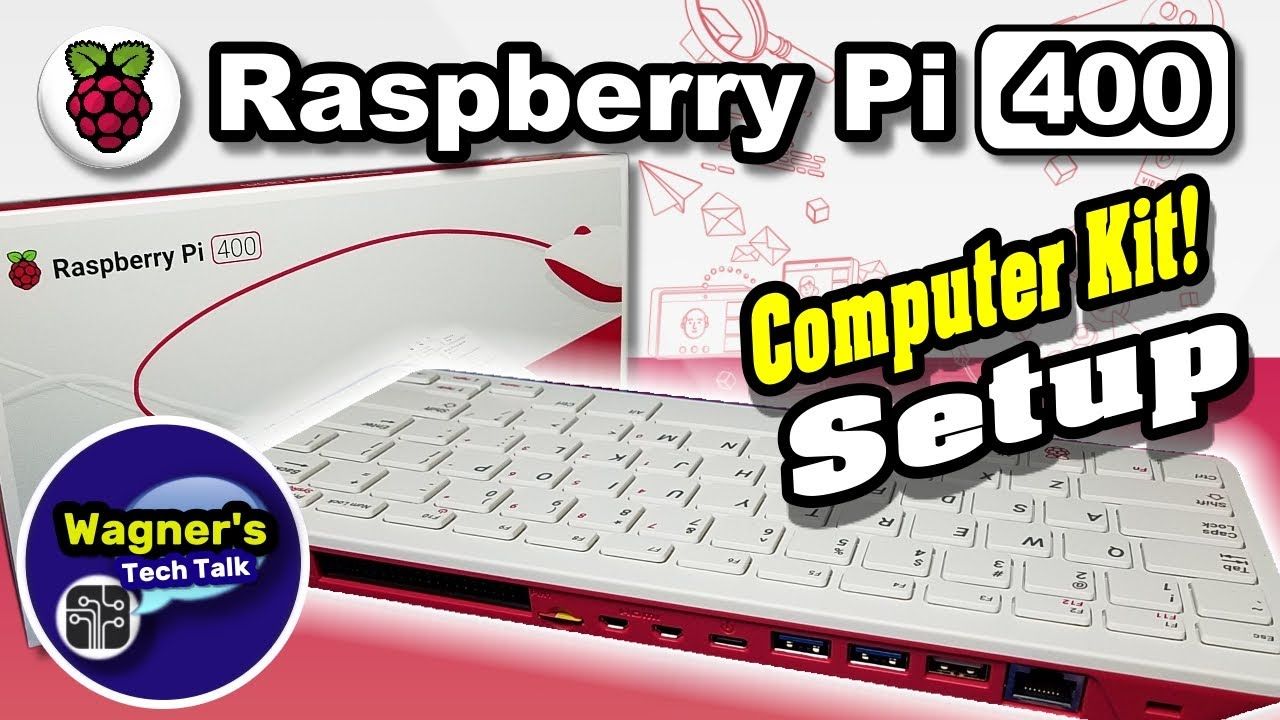
In this video we’ll take a look at the new Raspberry Pi 400 Computer Kit (provided by CanaKit), unbox it, set it up and go through a few use-cases! This impressive device is essentially a Raspberry Pi 4 computer built-in to a keyboard form-factor. The computer is very light-weight, all ports go out the back of the unit and has everything you need to get started out of the box -sans a monitor.
You can pickup two different versions, one which includes the power supply, microSD, book, MicroHDMI to HDMI cable, mouse & Pi 400 for $100 USD. Link: https://www.canakit.com/raspberry-pi-400-desktop-computer-kit.html
If you don’t need or want all the accessories listed above, for $70 you can get just the Raspberry Pi 400 Computer. Link: https://www.canakit.com/raspberry-pi-400.html
Chapters
00:00 – Introduction
00:58 – Pi 400 Features
02:22 – Unboxing
03:00 – Port identification
05:00 – Pi 400 Setup
06:21 – PiOS Setup (formerly known as Raspbian)
07:35 – Chromium Testing
09:30 – USB Camera + Zoom meeting
10:13 – Desktop Applications (Calc, Writer, Thonny, etc.)
11:17 – HDMI Resolution Change (1080p)
11:43 – RetroPie quick install / boot
12:56 – Shutdown Pi using Fn + F10
13:00 – Conclusion
If you found this video helpful/informative, please …
***** Like / Share and Subscribe *****
→→ http://wagnerstechtalk.com ←←
SUBSCRIBE for the latest TechTalk: https://www.youtube.com/wagnerstechtalk?sub_confirmation=1
———————————————————————————————————————-
Feel free to ask us a question in the comments below or visit our website, we try to answer most questions that we can.
Email: wagnerstechtalk@gmail.com
Website: http://wagnerstechtalk.com
Or join us on one of the following social media sites…
Facebook: https://www.facebook.com/wagnerstechtalk
Twitter: https://twitter.com/wagnerstechtalk
#RASPBERRYPI #PI400 #WTT #RETROPIE #RASPBERRYPI400
source


